
This past weekend I spent Saturday morning at my grandmother’s house learning how to can green beans grown in her garden; I’m wondering why we didn’t plan to do this sooner, but I’m thrilled we’ve done it now! My grandmother has been a gardener for as long as I can remember spoiling our family with fresh produce every Summer and carrying us through the Winter months by canning, a very valuable skill to have on your life resume. Now that I know just how simple it really is, I want a garden of my own even more. The backyard will be a big focus when we begin house hunting for our next home; I’m thinking a small and cozy house with a large backyard…welcoming patio, a (hopefully) luscious garden and you know, maybe a pool; am I starting to daydream? 🙂 We’ll keep talking about this garden below for now…
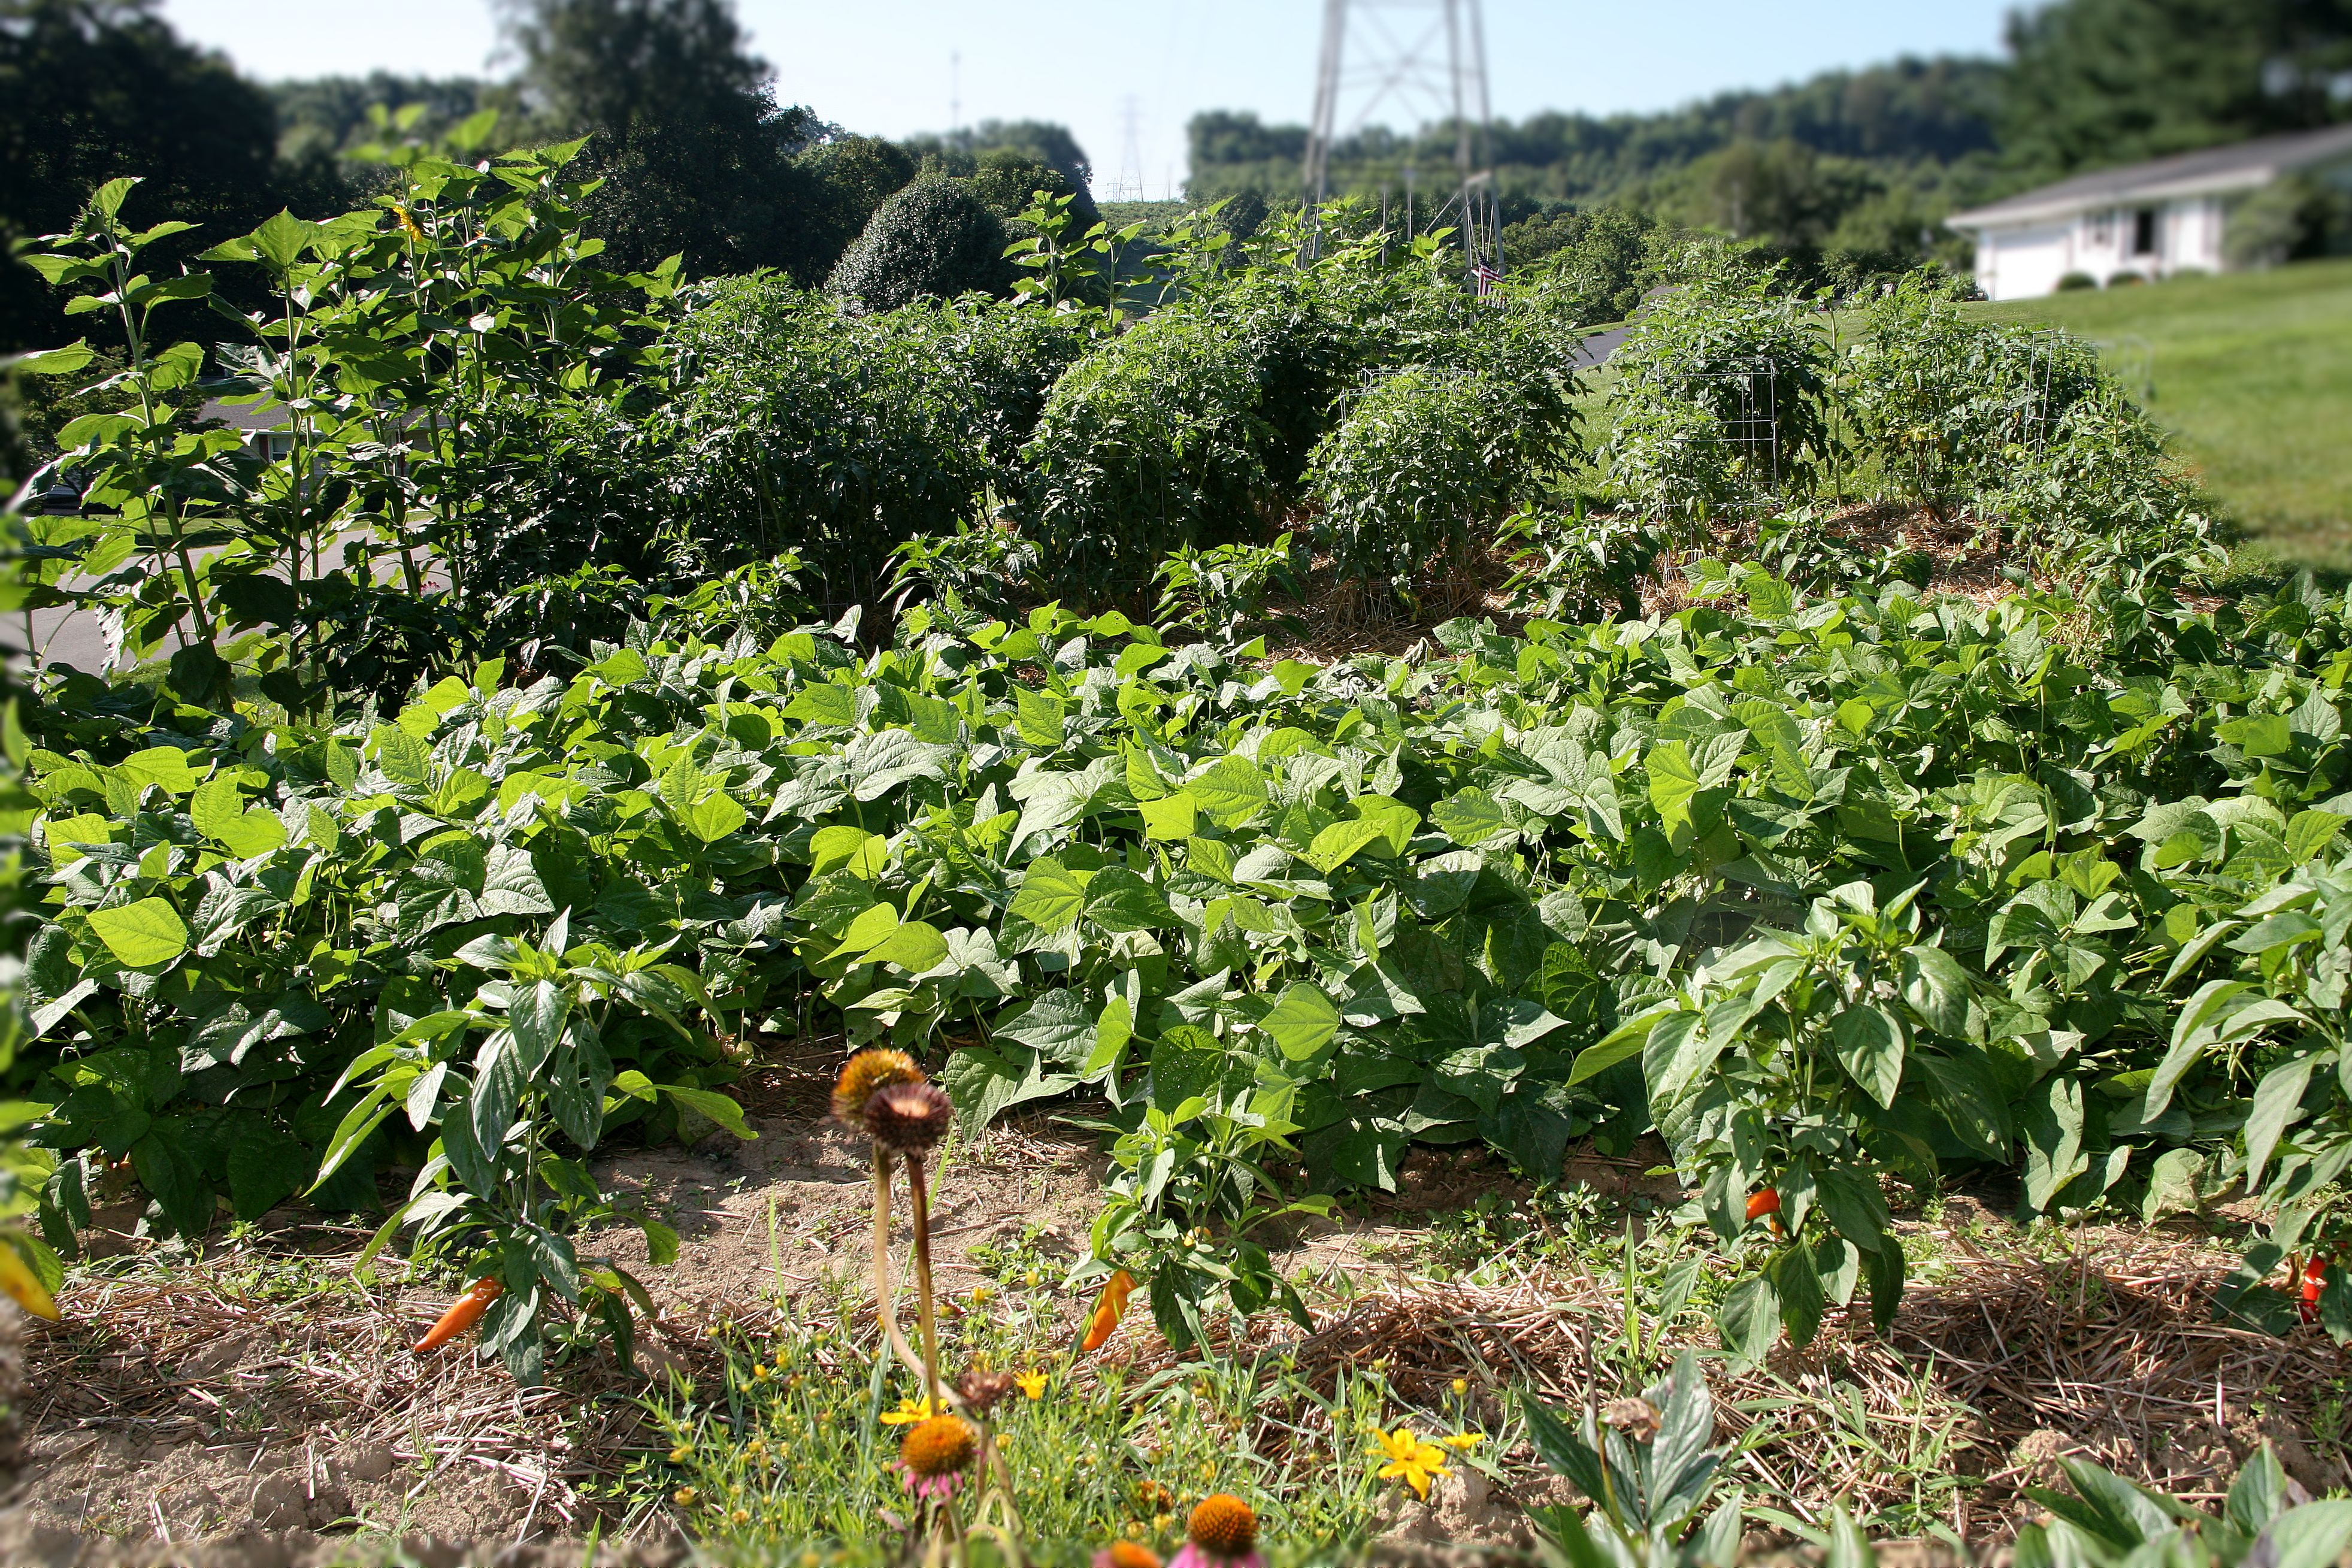
My favorite vegetables from the garden are cucumbers, green beans, cabbage, zucchini, tomatoes and green peppers! Veggies from the garden have the most fresh flavor and wonderfully satisfying crunch. Tomato canning will take place in August and I’m already looking forward to that, because I adore the smell of tomatoes cooking! Yum! We started the canning process with beans, because they are abundantly available in July. We canned pints first; quarts of beans will follow. I will include a recipe at the end like I do for all of my posts, but will also walk you through this one so everyone reading has a really great reference and reason to attempt canning in the future 😉 Let’s get started!
Canning Green Beans
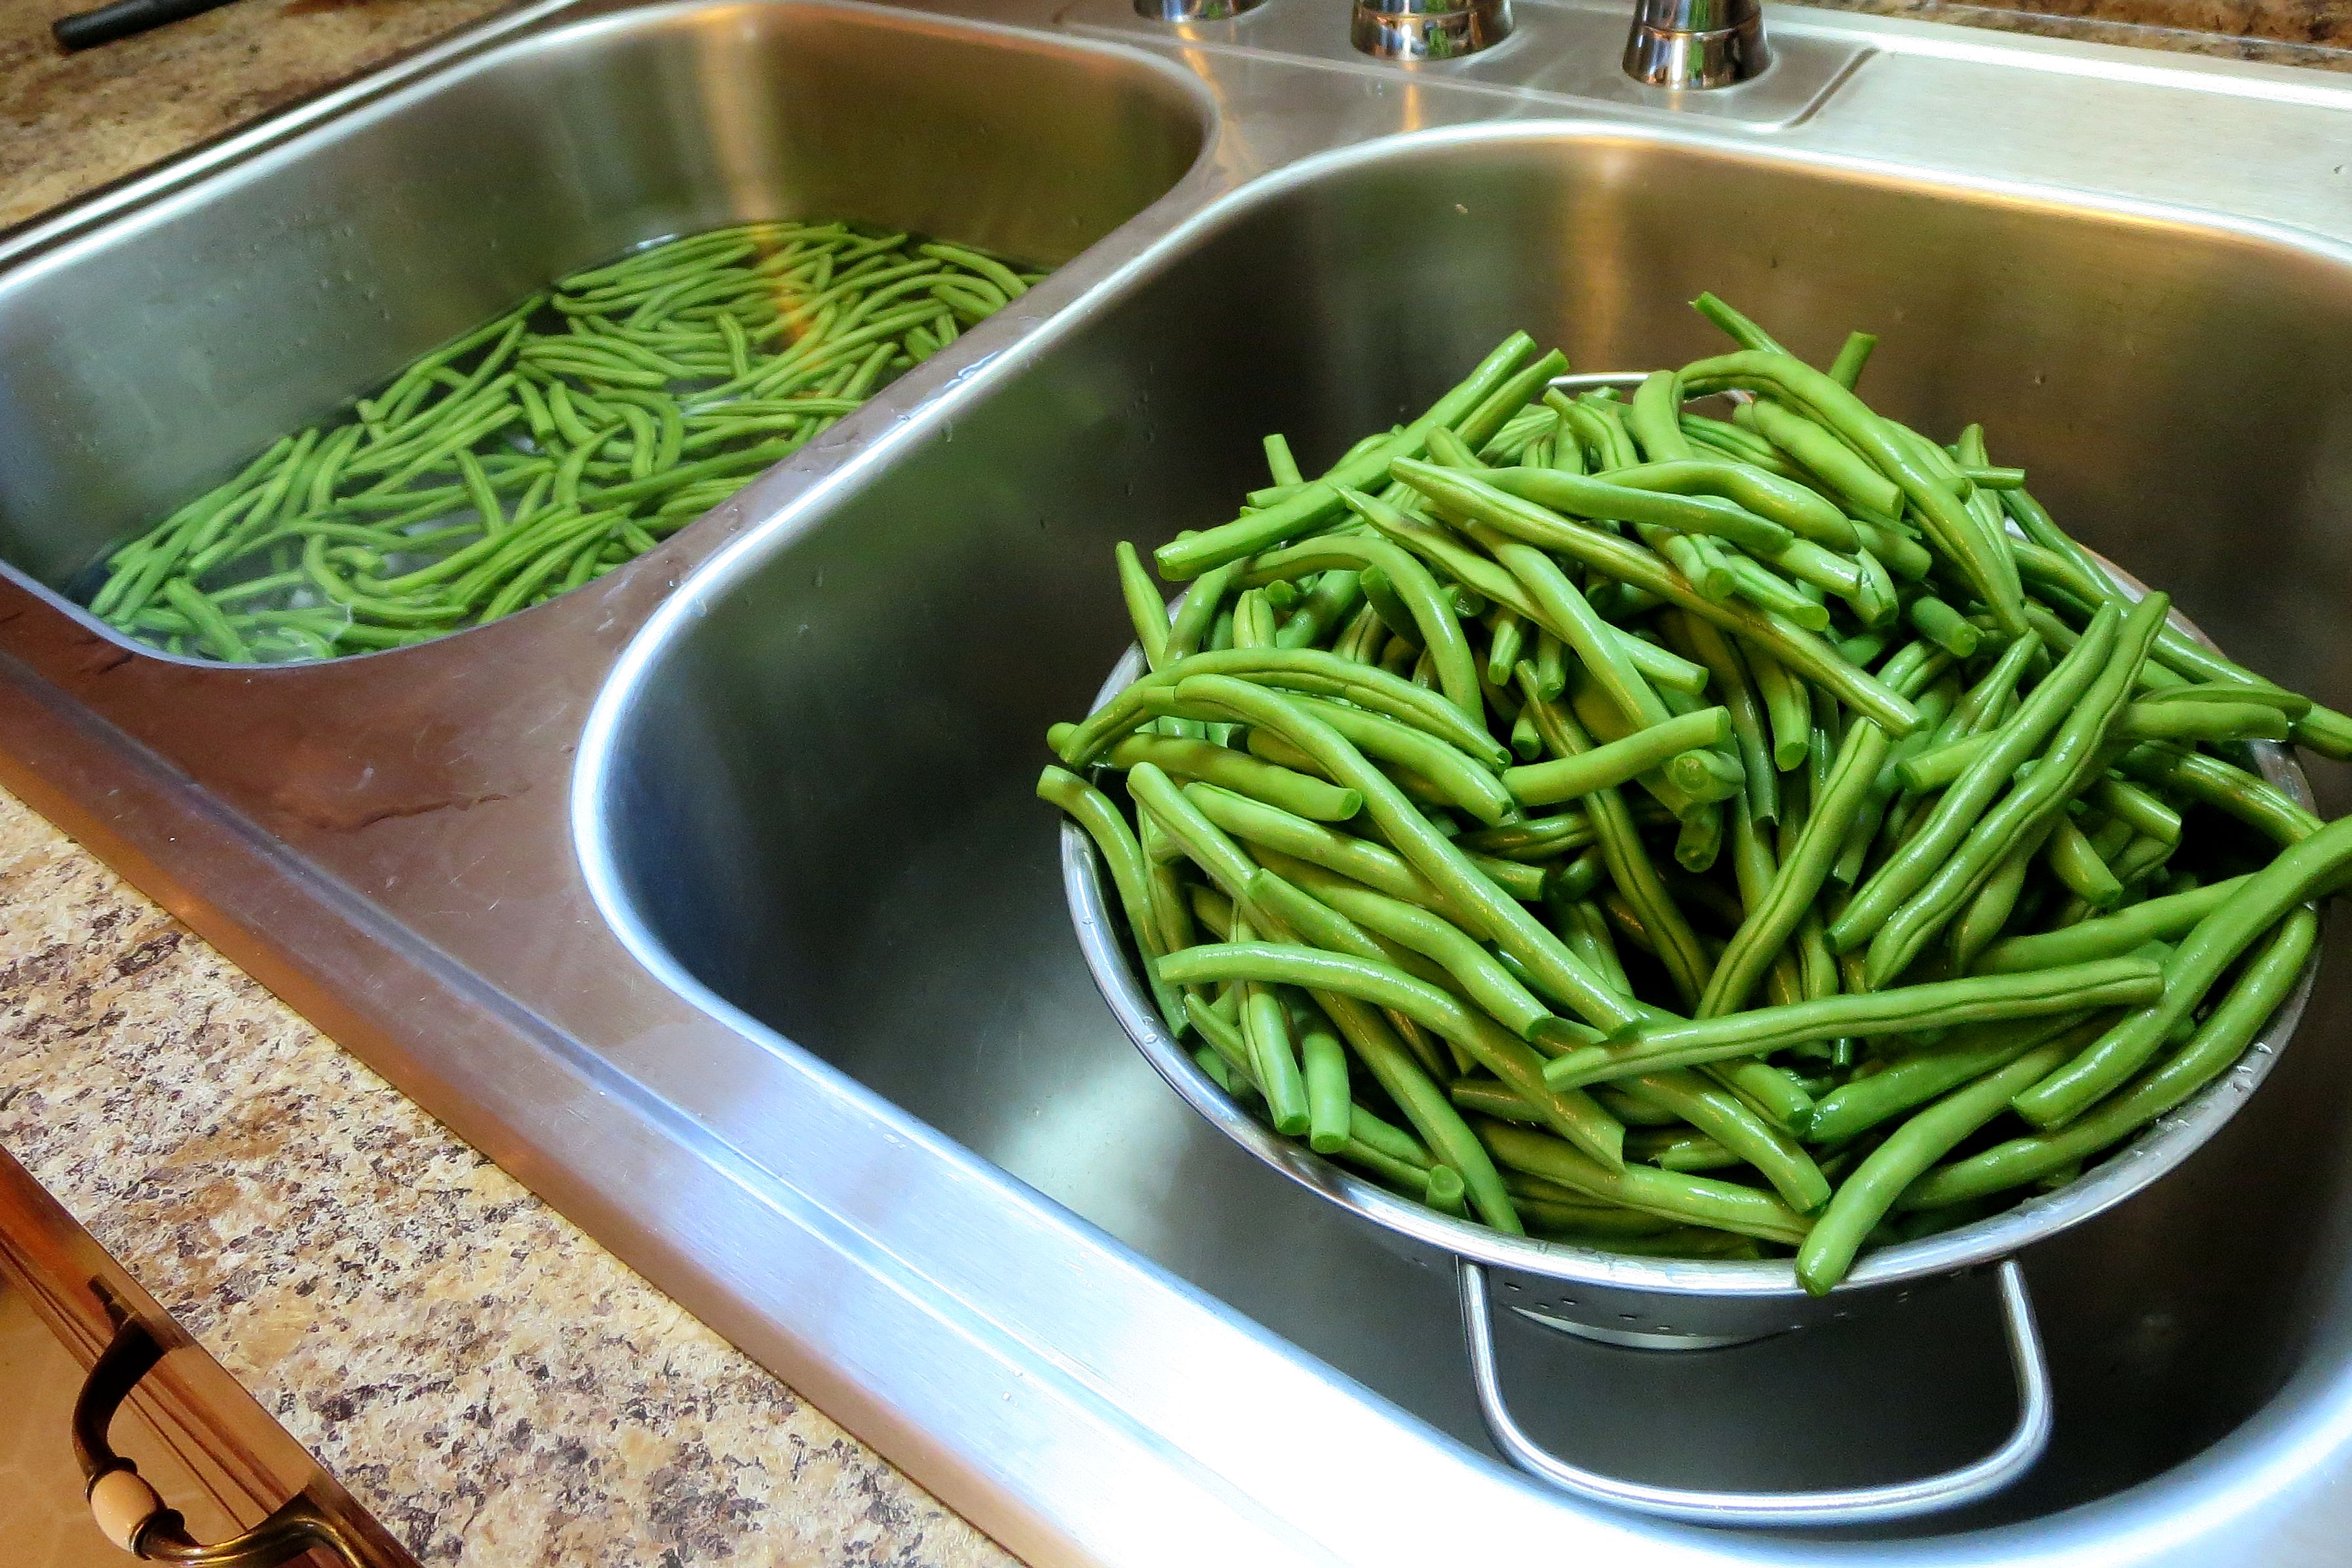
Start by picking your beans or buying them from the farmer’s market. Snap the ends off each bean, rinse and soak in cold water to clean. Transfer the beans from the water to a colander to drain. While the beans are soaking, begin sterilizing the jars in a roaster on the stove.

Be sure the water in your roaster is boiling hot. Place as many jars as you can fit in at a time, cover with lid and allow to boil for 3-5 minutes. Use oven mittens to remove the hot jars from the roaster. *The jars will cool down quicker than you’d expect after sitting out for a minute so they are easy to handle as you begin filling with beans.

Break beans in half as needed and pack them into your jars. Use a butter knife to move or re-position beans ensuring you fit as many as possible into each jar; you’d be surprised how many beans can find a spot in one jar! Do this for all seven jars (this ‘recipe’ is for 7 pints of beans). Once the last of the jars are sterilized, place the lids in the roaster to sterilize while you finish packing the jars with beans. Next, add just less than a teaspoon of salt to each jar.

Following the salt, pour in cold water filling up to the neck of each jar. Do not forget this next step!!

We’re about to add the lids, but first you must wipe the mouth of each jar with a paper towel to make sure they are clean and free of salt. Just one tiny grain of salt will prevent sealing! Clean mouths? Time to add the lids 🙂

After each lid is placed, complete the jars by tightly winding the ring around each one. Fill your cold packer with cold water mixing in 1/2 cup vinegar. Add the rack and place your jars appropriately inside. Carefully lower the rack into the water. Add more water if needed; you want the jars to be completely covered.
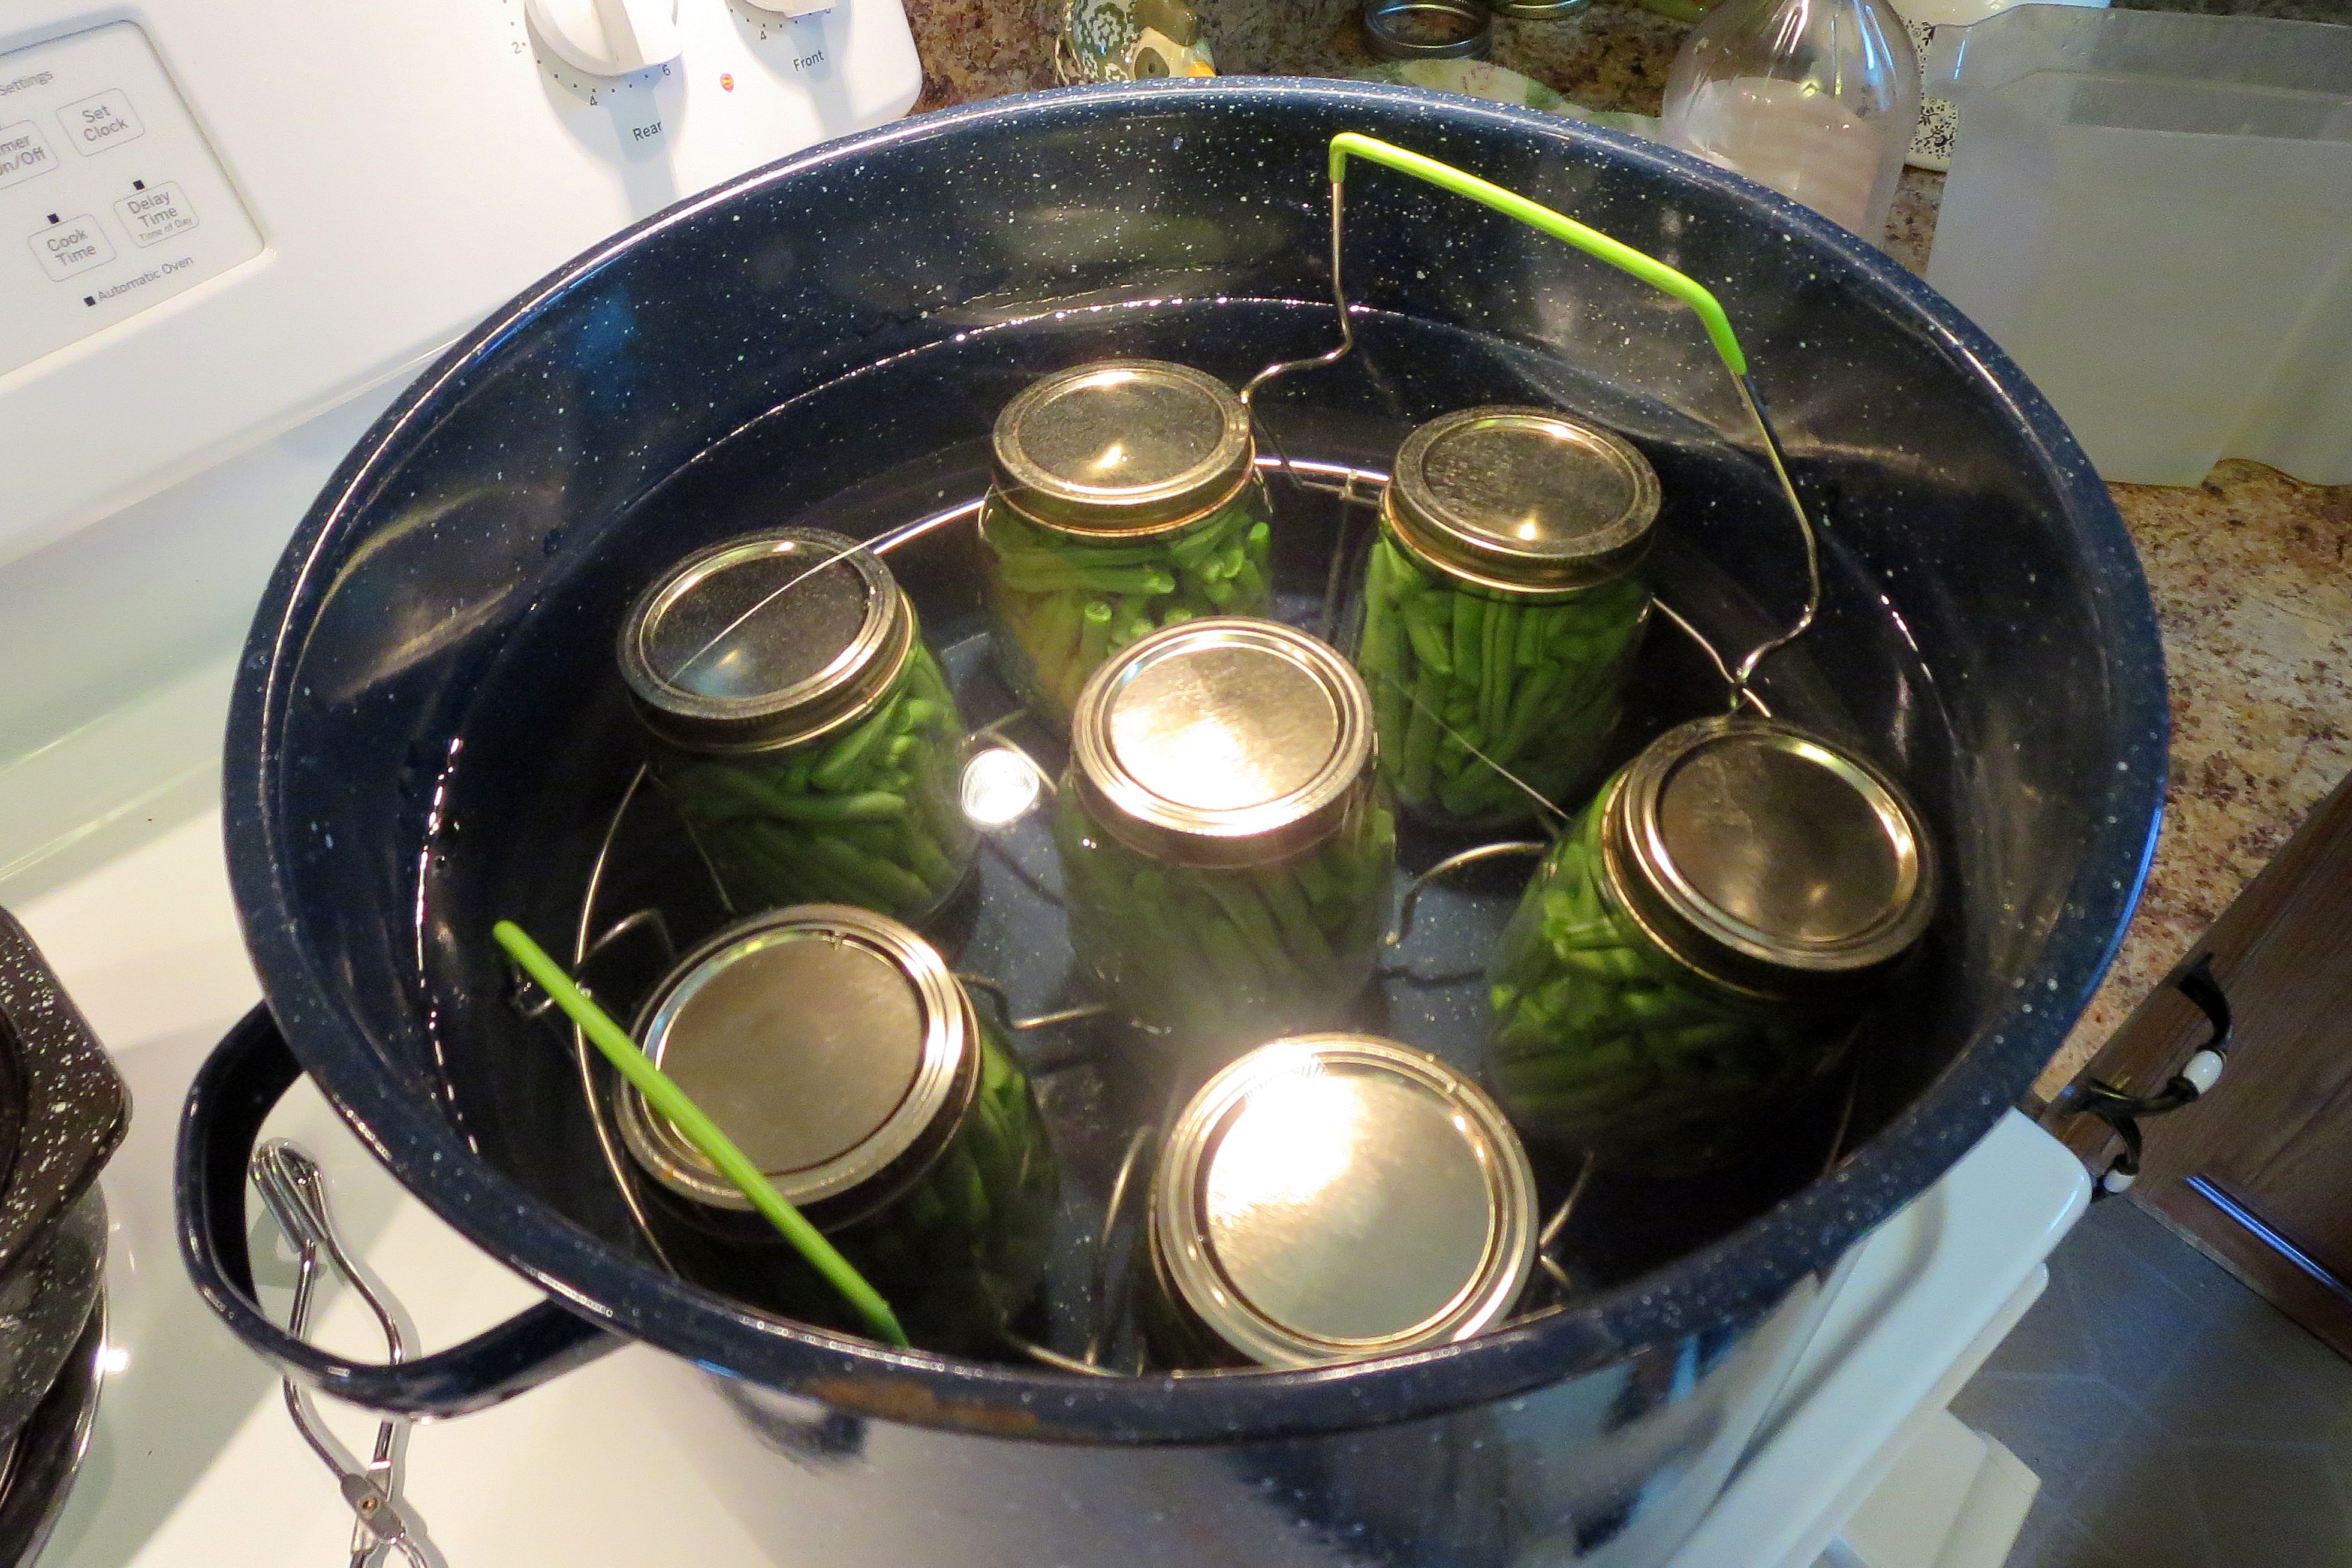
Are you ready to play the waiting game? Cover and bring the water to a boil; this will take roughly one hour. Once boiling, leave on stove for another 2 and a half hours. When time is up, use a jar lifter to cautiously remove the hot jars. Set them on a heat resistant surface where they can cool overnight. You will hear them pop as they cool to let you know they’re 100% done.

Use a permanent marker to write the date on the lids of your fully cooled jars the next day (not pictured, oops). Store the beans in a dark, cool location and enjoy fresh food through the cold and dreary Winter months! I was surprised how simple the process was for canning beans and I’m so glad I finally spent the time with my grandmother to learn it! Not only a helpful skill to have, but another great day for my memory bank too 🙂
For more brief instructions, check out the ‘recipe style’ version below. Happy canning!!
How to can Green Beans
Supplies and Ingredients:
- Cold Packer with rack, like this
- 7 Pint size jars with lids and rings
- Roaster, or other pan, for sterilizing
- Jar Lifter
- Green beans
- 1/2 – 1 tsp Salt
- Water
- 1/2 cup Vinegar (we used apple cider vinegar)
Instructions:
- Gather beans, snap off ends and clean.
- Sterilize jars in boiling water for 3-5 minutes each; you can have multiple jars in at a time.
- Pack jars full with beans, breaking in half as needed and using a butter knife to fit as many as possible.
- Sterilize lids in boiling water for 3-5 minutes.
- Add salt to jars full of beans. Pour in water filling to the neck of each jar.
- Wipe the mouths of each jar ensuring they are clean and free of salt. One grain of salt will prevent sealing!
- Remove sterilized lids from the boiling water, pat dry and place on top of each jar.
- Complete the jars by tightly winding the ring on each one.
- Fill the cold packer with cold water. Mix in vinegar and position the rack.
- Place the jars around the rack and carefully lower into the water. Add more water at this point if needed; the jars need to be completely covered.
- Cover and bring to a boil (takes roughly one hour)
- Once boiling, leave on stove for 2.5 hours. At the end of the 2.5 hours, remove the jars with caution using a jar lifter.
- Set the jars on a heat resistant surface to cool overnight. You will hear them pop as the process completes.
- The next day, use a permanent marker to write the date on the lids of the fully cooled jars.
- Store in a dark, cool place – a pantry is fine.
As always, thanks for reading!!


Pingback: How To: Canning Tomato Juice | Our Front Door Looking in...